

I updated the door jams recently to allow for a door gaskets that don’t catch and pin switches. The wiring boots for the marker lights were previously plastic and not only did they catch, they didn’t allow for the additional wiring that I wanted to add. The items below allow you to add boot, additional wiring and use the pre-existing holes.
The items you will need for both doors:
- 2 / 1″ grommets (the new door gaskets are too small for the cab side). I bought this kit and it also has the plugs necessary for the side of the steering column.
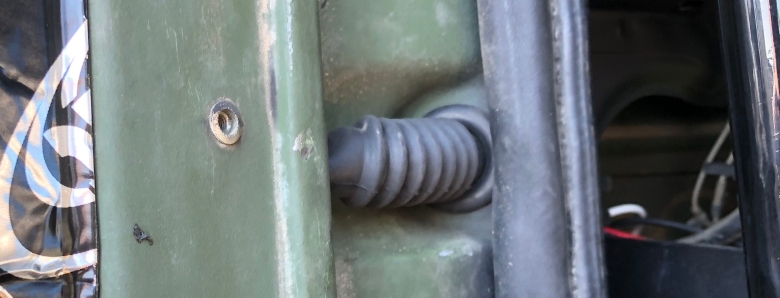
- 2 / Door Boots, I currently have the factory wiring plus two more sets of wiring trough these. There is room for at least one or two more wires if you are considering electric windows or door locks.
This is a pretty simple process, it’s more about finding the right parts. Remove the wiring from the back of the door markers so you can thread it back out. Cut of the existing plastic door boot and place the 1″ grommet in the cab side hole.
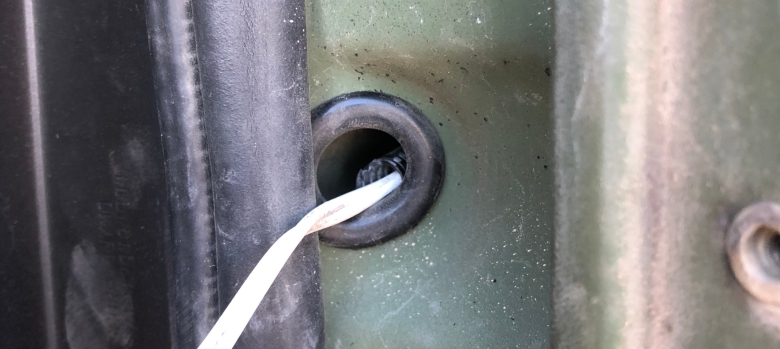
Thread the wire through the boot and then on the cab side you are going to push the new boot all the way in past both of the ribs. On the door side, and this takes some trying, put as much of the door boot in as you can and put your arm on the inside of the door to pull the boot through… while on the other side pinching the boot to get the metal between the two ribs.
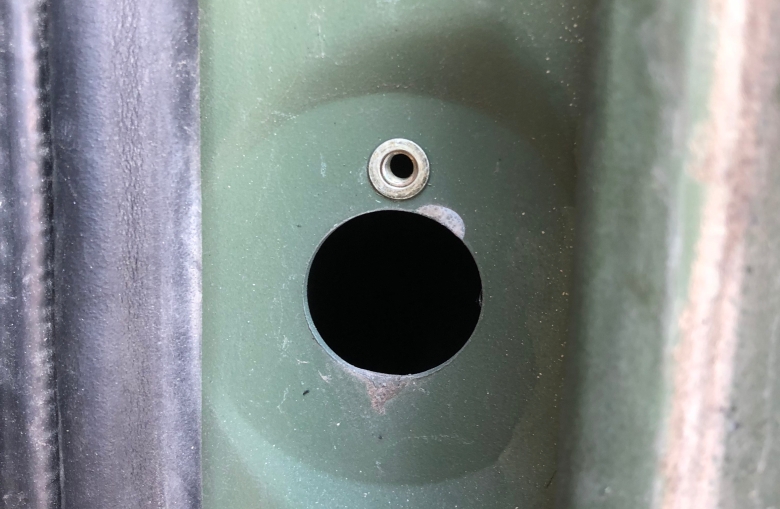
Now you can move on to installing a pin switch to control dome lights or alarm. I used a pre-existing hole again. For this all you will need is two things.
- A pin switch, the old one is in the header image this is the one I used.
- Either self-tapping metal screws or an rivet eyelets (which I am a fan of)
UPDATE 8/22/18
After sitting on this for a while I decided to get another door switch (I updated the link above) and actually used a fender washer to stabilize the switch in the original hole. Here are the new switches I went with. This will all get painted in the future but it’s a much cleaner install now.


Thanks for sharing all this stuff.
The A0 LMTV had none of this electronics so I’m starting from scratch.
Adding a Bussman fuse/relay box in the back of the cab for any 12v future stuff I may add.
Going to Freightliner Cascadia mirrors (power and heated) so the extra room for wires is going to help!!
LikeLike
you don’t have a distribution panel on the passenger side? If you do, get out your voltmeter and test… There is a post for 24v, 24v switched, 12v and 12v switched.
LikeLike